Oil painting is a popular form of artistic expression that has been practiced for centuries. The beauty of oil paintings lies in their vibrant colors, rich textures, and ability to capture intricate details. However, one aspect of oil painting that often perplexes both artists and art enthusiasts is the drying time. How long does it take for an oil painting to dry? This question is not easily answered, as the drying time of an oil painting can vary depending on several factors.
Factors that affect drying time in oil paintings
Several factors can influence the drying time of an oil painting. The first and most obvious factor is the type of oil used in the painting. Different types of oil have different drying properties. For example, linseed oil dries faster than walnut oil. Additionally, the amount of oil used in the painting can also affect the drying time. A painting with a thicker layer of paint will take longer to dry compared to a painting with a thinner layer.
Another factor that influences drying time is the ambient temperature and humidity. Oil paintings tend to dry faster in warm, dry environments. On the other hand, high humidity can slow down the drying process. It is important to consider these environmental factors when planning your painting sessions and when choosing a suitable location to dry your artwork.
The composition of the paint itself can also impact drying time. Some pigments dry faster than others. For instance, earth tones tend to dry more quickly, while certain blues and greens may take longer to dry. It is essential to be mindful of these differences when mixing your colors and applying them to your canvas.
Understanding the stages of drying in oil paintings
The drying process of an oil painting can be divided into several stages. The first stage is known as the “surface drying” stage. During this stage, the outermost layer of the paint starts to dry, forming a skin-like surface. It is important to note that while the surface may feel dry to the touch, the layers beneath are still wet.
The second stage is referred to as the “touch-dry” stage. At this point, the paint is dry enough that it does not come off when lightly touched. However, the paint layers are still not fully cured, and caution should be exercised to avoid damaging the artwork.
The final stage is the “complete drying” stage. This is when the paint layers have fully dried and cured. The time it takes to reach this stage can vary greatly depending on the factors mentioned earlier. Some paintings may take a few days to dry, while others may take weeks or even months.

Average drying times for oil paintings
While it is difficult to provide an exact timeframe for the drying of oil paintings, there are some general guidelines that can be helpful. On average, a thin layer of oil paint may take anywhere from a few days to a week to dry to the touch. Thicker layers of paint can take up to several weeks to fully dry and cure.
It is important to note that these are just rough estimates, and the actual drying time can vary depending on the specific conditions surrounding the painting. As mentioned earlier, factors such as the type of oil, the composition of the paint, and the environmental conditions can all influence drying time.
Tips for speeding up the drying process in oil paintings
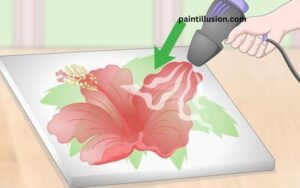
If you are working on a project with a tight deadline or simply wish to speed up the drying process, there are a few techniques you can employ. One method is to use a drying medium, which is a substance added to the paint to accelerate the drying time. Drying mediums are available commercially and can be mixed with your paint to hasten the drying process.
Another technique is to apply thin layers of paint. Thicker layers of paint take longer to dry, so by using thin layers, you can reduce the drying time. Additionally, you can place your artwork in a well-ventilated area with good air circulation to help expedite the drying process.
Techniques for achieving different textures and effects with drying times
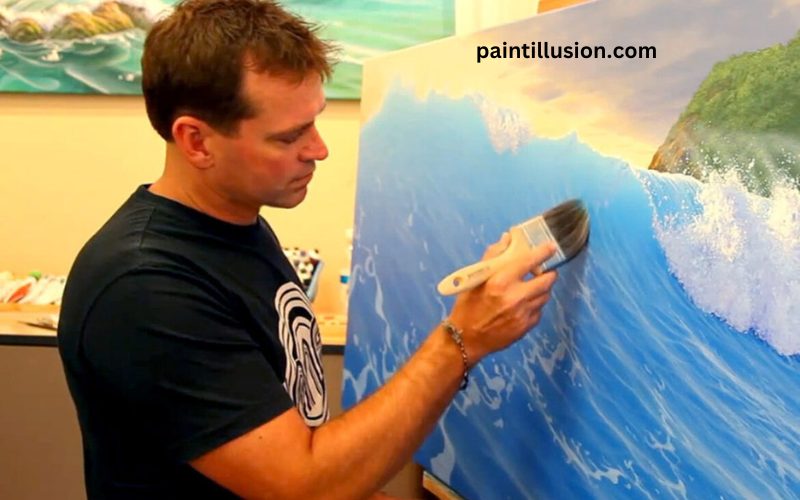
The drying time of an oil painting can also be manipulated to achieve different textures and effects. For instance, if you want to create impasto or thickly textured areas in your painting, you can apply thick layers of paint that will take longer to dry. This technique allows you to build up layers and create a three-dimensional effect.
On the other hand, if you prefer a smoother and more blended look, you can apply thin layers of paint that will dry faster. This technique is especially useful for creating subtle transitions and soft gradients.
Experimenting with drying times can open up a world of possibilities for your artwork. By understanding the drying properties of different paints and employing various techniques, you can achieve unique textures and effects in your oil paintings.
How to properly store and care for drying oil paintings
Once your oil painting is complete and in the drying process, it is crucial to handle and store it properly to avoid any damage. Firstly, ensure that the painting is fully dry before moving or storing it. If the paint is still wet or tacky, it is prone to smudging and sticking to other surfaces.
To protect your artwork, it is advisable to place a sheet of glassine or wax paper over the painting’s surface. This will prevent any accidental contact or smudging. You can also create a makeshift drying rack using wooden blocks or spacers to elevate the painting and allow air to circulate around it.
When storing the painting, choose a location that is dry and well-ventilated. Avoid exposing the artwork to direct sunlight or extreme temperatures, as these can cause the paint to crack or fade over time. If possible, store the painting upright to prevent any pressure or warping of the canvas.
Common misconceptions about drying times in oil paintings
There are several misconceptions surrounding the drying times of oil paintings. One common misconception is that all oil paintings dry at the same rate. As discussed earlier, the drying time can vary greatly depending on various factors such as the type of oil, the thickness of the paint, and the environmental conditions.
Another misconception is that heat can speed up the drying process. While it is true that warmth can accelerate drying to some extent, excessive heat can cause the paint to dry too quickly, resulting in cracking or other forms of damage. It is important to find a balance and avoid subjecting your artwork to extreme temperatures.
The importance of patience and proper handling during the drying process
One of the most crucial aspects of working with oil paintings is patience. It is essential to allow your artwork ample time to dry and cure properly. Rushing the drying process can lead to disastrous results such as cracking, flaking, or color shifting.
During the drying process, it is important to handle the painting with care. Avoid touching the surface of the painting, as this can leave fingerprints or smudges. If you need to transport the painting, make sure it is fully dry and adequately protected to prevent any accidental damage.
Conclusion
In conclusion, the drying time of an oil painting is a complex and variable process. Factors such as the type of oil, the composition of the paint, and the environmental conditions can all influence the drying time. While there are some average drying times, it is important to remember that these are just estimates and individual paintings may take longer or shorter periods to dry.
Whether you are a seasoned artist or a beginner, understanding the stages of drying, employing techniques to speed up the process, and properly caring for your artwork during the drying process are essential. By exercising patience and taking proper precautions, you can ensure that your oil paintings dry thoroughly and maintain their beauty for years to come. So, the next time you embark on an oil painting journey, embrace the drying process and enjoy the anticipation of seeing your masterpiece come to life.


Fantastic blog you have here but I was wondering if you knew of any community forums that cover the same topics discussed in this article? I’d really like to be a part of online community where I can get feedback from other experienced people that share the same interest. If you have any suggestions, please let me know. Thanks!