
Cleaning an oil painting is an essential process to maintain its beauty and longevity. Over time, dust, dirt, and grime can accumulate on the surface of the painting, dulling its colors and obscuring its details. Regular cleaning not only restores the vibrancy of the artwork but also helps preserve it for future generations to appreciate. In this guide, we will explore various techniques for cleaning oil paintings, from dry cleaning methods to removing varnish and repairing minor damages.
Why is Cleaning Important for Oil Paintings?
Oil paintings are susceptible to dirt and pollutants that can settle onto the surface and get embedded in the layers of paint. These contaminants can negatively impact the painting’s appearance and, if left unattended, cause irreversible damage. Regular cleaning helps remove these particles, preventing them from causing discoloration or deterioration over time. Additionally, cleaning can reveal hidden details, brushstrokes, and colors that were obscured by dirt, providing a fresh perspective on the artwork.
Assessing the Condition of Your Oil Painting
Before embarking on the cleaning process, it is crucial to assess the condition of your oil painting. Inspect the surface for any visible signs of damage, such as flaking paint, cracks, or discoloration. Take note of areas that require special attention, as these may need additional care or professional restoration. It is advisable to consult an art conservator if you are uncertain about the painting’s condition or if it is a valuable or delicate piece.
Preparing for the Cleaning Process
Before you commence cleaning, ensure you have a clean and clutter-free workspace. Lay down a soft, clean cloth or a piece of acid-free paper to protect the painting’s surface. Gather the necessary cleaning supplies, such as a soft brush, cotton swabs, lint-free cloths, mild cleaning solutions, and distilled water. It is essential to use non-abrasive materials and avoid harsh chemicals that could damage the paint or varnish. Remember to wear gloves to protect both the painting and your hands from oils, dirt, and chemicals.
Dry Cleaning Techniques for Oil Paintings
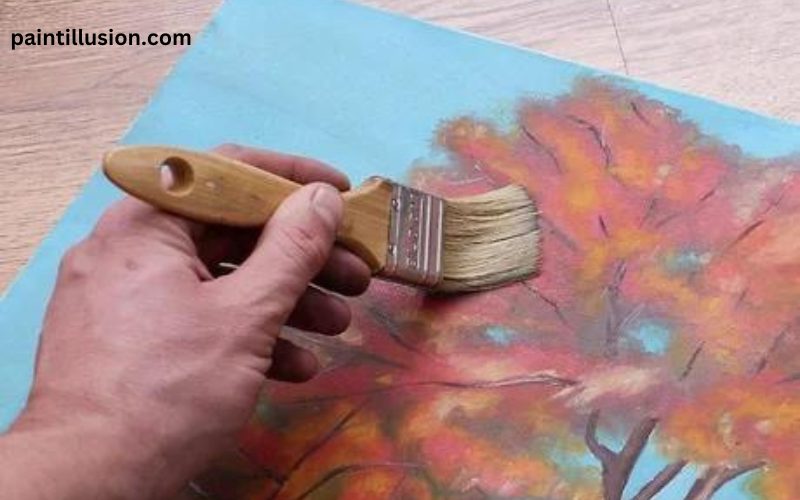
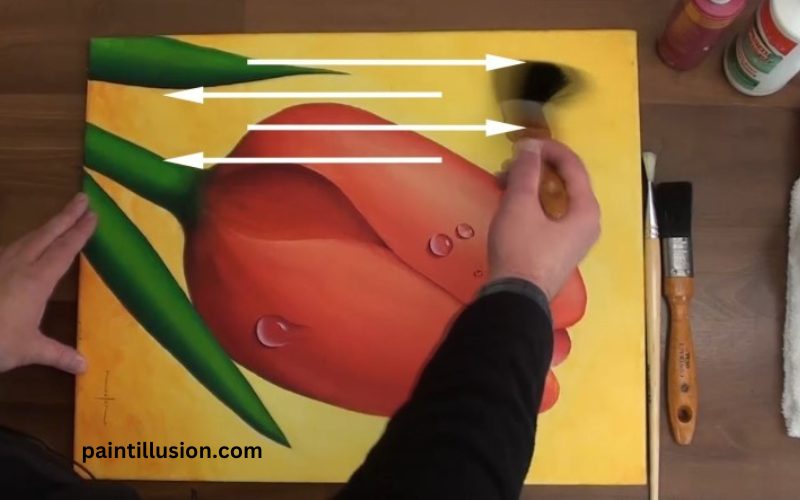
Dry cleaning is the first step in the cleaning process for oil paintings. Start by gently brushing the surface with a soft brush, like a natural bristle brush or a clean makeup brush. This will remove loose dust and dirt particles without causing any damage. Use light, sweeping motions in one direction to avoid pushing the dirt further into the paint layers. Alternatively, you can use a soft, white eraser to gently dab away any stubborn dirt or grime. Be cautious not to apply excessive pressure or rub vigorously, as this can damage the paint.
Another dry cleaning technique involves using a slice of stale bread. Yes, you read that correctly! Tear off a small piece of bread, remove the crust, and gently dab the soft inner part onto the surface of the painting. The bread’s soft texture will help lift off dirt and grime without leaving any residue or causing harm to the painting. Replace the bread as needed to ensure cleanliness throughout the process.
Wet Cleaning Techniques for Oil Paintings
If dry cleaning alone does not fully clean the painting, you may need to proceed with wet cleaning. Wet cleaning involves the use of a gentle cleaning solution or solvent to remove ingrained dirt or stains. However, extreme caution must be exercised, as the wrong solution or excessive moisture can cause irreversible damage to the painting.
To wet clean an oil painting, start by testing the cleaning solution on a small, inconspicuous area of the painting. Ideally, choose a spot in the corner or along the edge where any potential damage will be less noticeable. Apply a small amount of the cleaning solution or solvent to a cotton swab or a soft cloth and gently dab it onto the test area. Observe the surface for any adverse reactions, such as color bleeding or paint lifting. If there are no negative effects, you can proceed with the wet cleaning process.
Removing Varnish from Oil Paintings
Over time, the varnish applied to oil paintings can become yellowed, discolored, or cracked, diminishing the artwork’s original appearance. Removing old varnish is a delicate process that requires expertise and should generally be left to professional art conservators. However, if you are confident in your abilities and the painting is not of significant value, you can attempt to remove the varnish yourself.
To remove varnish, you will need a specialized varnish remover, which can be found at art supply stores. Follow the manufacturer’s instructions carefully, as different varnish removers may have specific application techniques and dwell times. Apply the varnish remover to a lint-free cloth and gently rub it onto the surface of the painting, working in small sections at a time. Be cautious not to scrub vigorously or apply excessive pressure, as this can damage the underlying paint layers. Once the varnish is softened, carefully wipe it away with a clean, damp cloth, taking care not to disturb the paint.
Repairing Minor Damages on Oil Paintings
Minor damages, such as small scratches or chips in the paint, can be repaired to restore the painting’s overall appearance. To repair these damages, you will need a set of artist-grade oil paints that match the colors of the original painting, as well as a small brush with fine bristles. Start by mixing a tiny amount of the desired paint color with a small amount of linseed oil to create a semi-liquid consistency. Using the fine brush, carefully apply the mixed paint to the damaged area, feathering the edges to blend it seamlessly with the surrounding paint. Allow the repaired area to dry completely before assessing the results. If necessary, repeat the process until the repair is satisfactory.
Preventative Measures for Maintaining the Cleanliness of Oil Paintings
Once you have successfully cleaned and restored your oil painting, it is crucial to take preventative measures to maintain its cleanliness and preserve its condition. Avoid hanging the painting in areas prone to high humidity, extreme temperature fluctuations, or direct sunlight, as these conditions can accelerate deterioration. Regularly dust the painting using a soft brush or a microfiber cloth to prevent the accumulation of dust and dirt. Additionally, consider applying a fresh layer of varnish every few years to protect the paint layers from environmental pollutants.
Conclusion
Cleaning an oil painting is a delicate process that requires patience, attention to detail, and the right techniques. By following the steps outlined in this guide, you can ensure the longevity and beauty of your oil paintings for years to come. Remember to assess the painting’s condition, prepare a suitable workspace, and utilize both dry and wet cleaning techniques as necessary. Should you encounter major damages or require varnish removal, it is advisable to consult an art conservator for professional assistance. With regular cleaning and preventative measures, you can enjoy your oil paintings in their full glory and pass them down as cherished heirlooms.