
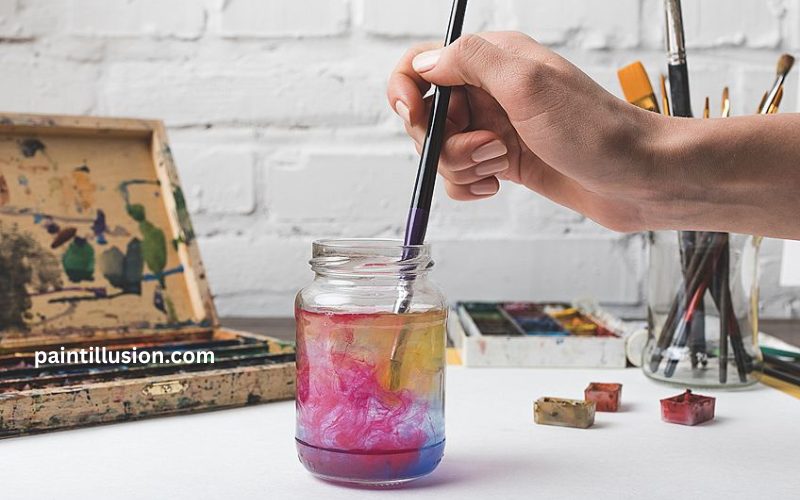
Cleaning oil paint brushes is an essential part of maintaining your art supplies. Not only does it help to extend the lifespan of your brushes, but it also ensures that you achieve the best results in your artwork. In this guide, we will walk you through the process of cleaning oil paint brushes step by step. From preparing the brushes for cleaning to choosing the right cleaning solution, we’ve got you covered. So let’s dive in and learn how to clean oil paint brushes effectively.
Why Cleaning Oil Paint Brushes is Important
Before we delve into the nitty-gritty of cleaning oil paint brushes, let’s understand why it is so crucial. Oil paint has a thick consistency and contains pigments that tend to stick to the bristles of the brushes. If not cleaned properly, the paint residue can harden and ruin the brushes, making them stiff and unusable. Additionally, leftover paint can contaminate new colors, resulting in muddy, undesirable mixtures. By regularly cleaning your oil paint brushes, you not only protect your investment but also ensure that your future artwork is of the highest quality.
Materials Needed for Cleaning Oil Paint Brushes
Before you begin the cleaning process, gather the necessary materials. Here’s what you’ll need:
- Mild dish soap or baby shampoo – These gentle cleaners effectively remove oil paint without damaging the bristles.
- A brush cleaning tank or jar – This container will hold the cleaning solution and allow you to agitate the brushes.
- Paper towels or a clean cloth – These will be used to wipe excess paint and dry the brushes.
- Rubber gloves – Optional but recommended, especially if you have sensitive skin.
- A brush comb or wire brush – These tools will help dislodge any stubborn paint particles.
Having these materials ready will streamline the cleaning process and ensure that your brushes are thoroughly cleaned.
Preparing the Brushes for Cleaning
Before you start cleaning your oil paint brushes, it’s essential to prepare them properly. Start by removing any excess paint from the brushes. You can do this by gently wiping the bristles on a clean cloth or paper towel. Be careful not to apply too much pressure, as it may push the paint deeper into the brush. Once you’ve removed as much paint as possible, you’re ready to move on to the next step.
Removing Excess Paint from the Brushes
To remove any remaining paint from the brushes, you can use a brush comb or wire brush. Gently comb through the bristles, starting from the base and working towards the tip. This action will help loosen any paint particles that may be trapped in the brush. Be patient and thorough, ensuring that you comb through every bristle. Once you’re satisfied that you’ve removed as much paint as possible, it’s time to move on to the actual cleaning process.
Choosing the Right Cleaning Solution
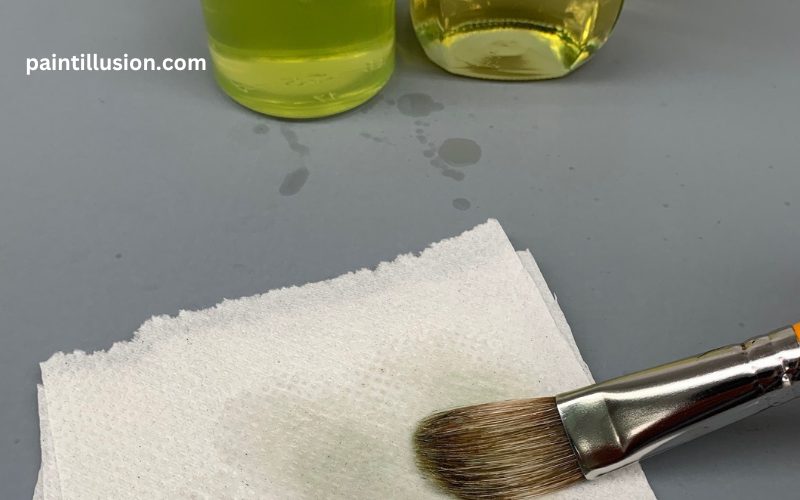
When it comes to choosing a cleaning solution for your oil paint brushes, mild dish soap or baby shampoo works wonders. These cleaners are gentle yet effective in breaking down the paint and removing any residue. Fill your brush cleaning tank or jar with warm water and add a small amount of the cleaning solution. The water should be enough to cover the bristles of the brushes. Avoid using hot water, as it can damage the bristles. Once you have your cleaning solution ready, it’s time to clean the brushes.
Cleaning the Brushes
To begin the cleaning process, dip the brushes into the cleaning solution. Gently swish them around, ensuring that the soapy water reaches every bristle. You can also use your fingers to massage the bristles, helping to dislodge any remaining paint. Avoid scrubbing the brushes vigorously, as this can cause the bristles to fray. Instead, be gentle yet thorough in your cleaning technique. Once you’re satisfied that the brushes are clean, rinse them under running water to remove any soap residue.
Drying and Storing the Brushes
After cleaning the brushes, it’s crucial to dry them properly before storing them. Start by gently squeezing out any excess water from the bristles. Then, using a clean cloth or paper towel, blot the brushes to remove any remaining moisture. Avoid rubbing the bristles vigorously, as it can damage the shape of the brush. Once the brushes are relatively dry, reshape the bristles with your fingers and lay them flat on a clean surface to air dry. Ensure that the brushes are completely dry before storing them to prevent mold or mildew growth.
Tips for Maintaining the Brushes
To keep your oil paint brushes in excellent condition, here are some tips to follow:
- Clean your brushes immediately after each painting session to prevent the paint from drying and hardening.
- Avoid leaving your brushes in water or cleaning solution for extended periods, as it can damage the bristles.
- Store your brushes in a brush holder or wrap them in a cloth to protect the bristles from bending or fraying.
- Avoid using strong solvents or harsh chemicals to clean your brushes, as they can damage the bristles and handle.
By following these tips, you can ensure that your oil paint brushes remain in optimal condition and provide you with years of use.
Common Mistakes to Avoid When Cleaning Oil Paint Brushes
While cleaning oil paint brushes may seem straightforward, there are a few common mistakes that artists often make. Here are some pitfalls to avoid:
- Using hot water – Hot water can damage the bristles and weaken the glue that holds them together. Stick to warm or lukewarm water for cleaning.
- Scrubbing too vigorously – Vigorous scrubbing can cause the bristles to fray or fall out. Be gentle yet thorough in your cleaning technique.
- Leaving brushes to dry upright – This can cause water to seep into the ferrule and loosen the bristles. Always lay the brushes flat to dry.
- Storing brushes without reshaping – Failing to reshape the bristles after cleaning can result in misshapen brushes. Take the time to reshape them before storing.
By avoiding these common mistakes, you can ensure that your cleaning process is effective and that your brushes remain in excellent condition.
Conclusion
Cleaning oil paint brushes is a necessary task that every artist should undertake. By following the steps outlined in this guide and using the right materials, you can effectively clean your brushes and maintain their longevity. Remember to be patient and gentle during the cleaning process, and always allow your brushes to dry completely before storing them. With proper care, your oil paint brushes will continue to serve you well and enhance your artistic creations for years to come.
So, don’t neglect the cleanliness of your oil paint brushes. Take the time to clean them properly and enjoy the benefits of well-maintained art supplies. Happy painting!